on
Set Up Windows for C development
TL;DR
- Install
chocolateyfollowing the instructions from here- Open a terminal and run:
PS> choco install msys2
# Wait for installation to finish
PS> pacman -Syuu
PS> pacman -S base-devel mingw-w64-x86_64-toolchain make
# Accept everything by pressing Enter
# Wait for installation to finish
- Compile your
.cfile runninggcc <your-file>.cand run it with.\a.out
Compiling and running C is not one of the easiest tasks to do on Windows, specially if you’re a beginner since the whole toolchain (compiler, debugger and build tools) is missing by default.
Worry not, is very easy to get everything working, and we’ll also install some extra tools that are ubiquitous in the C community.
Some words about C
C, first appeared on 1972 - 48 years ago - is a general-purpose, procedural computer programming language supporting structured programming, lexical variable scope, and recursion, while a static type system prevents unintended operations.
C as a language doesn’t come with a package manager or build tool as you may be used to like in other languages (be it gradle or maven for Java, cargo for Rust or cabal for Haskell), but instead it relies only on the compiler.
There are multiple C compilers out there, like MSVC by Microsoft, Clang and the most popular one, GNU GCC, so for the most part you’ll want to stick with GCC.
Getting GCC
GCC is a compiler that comes from the Linux world, and like most of these tools, there are “ports” or “compatibility layers” to make them work on a non-UNIX systems like Windows. We’ll use a nice tool called MSYS2 in order to get GCC and it’s friends.
Introducing chocolatey
Pretty much all software in Windows requieres to be installed through an installer before you can use it. You visit the author’s home page, download the installer, run it and get a nice shortcut on your Desktop or Start Menu.
On Linux, the software usually is stored in repositories: think of it like big folders on the Internet in which all programs are stored. You download the software from those repositories and bam, you are ready to go.
This means that most software installations on Linux are pretty much the same:
sudo apt get <name of the software>
Updates are done by the same way. As you may expect, this has drawbacks, like, what if the software is not in a repository you know?, or the repository version is very old, and so forth.
Windows does not come with a native package manager, but there’s a community solution that goes by the name chocolatey that fills this gap.
Chocolatey’s installation is done through PowerShell and is mostly automatic:
- Visit the official site
- Go to Start Menu -> Windows PowerShell -> Run as Admin
- Paste the command shown in the installation page and let it work
- Type
choco -?in order to verify the installation
Installing MSYS2
Installing packages through chocolatey is dead simple:
PS> choco install <name of the package>
Then, we’ll install MSYS2 by running:
PS> choco install msys2
Let it run. It may take a while to finish. Once it’s done close your terminal — PowerShell — and open one up again. In order to make sure everything works properly, run the following command:
PS> pacman --version

 .--.                  Pacman v5.2.1 - libalpm v12.0.1
/ _.-' .-.  .-.  .-.   Copyright (C) 2006-2019 Pacman Development Team
\  '-. '-'  '-'  '-'   Copyright (C) 2002-2006 Judd Vinet
 '--'
                       This program may be freely redistributed under
                       the terms of the GNU General Public License.
Isn’t that a beautiful version message?
Using pacman
So, by now we got choclatey installed and we used it to install msys2. Now, what’s pacman you may ask. No, it has nothing to do with that Pac-Man.
The
pacmanpackage manager is one of the major distinguishing features of Arch Linux. It combines a simple binary package format with an easy-to-use build system. The goal ofpacmanis to make it possible to easily manage packages, whether they are from the official repositories or the user’s own builds.
Wait, wait, another package manager?!
Yes, sadly this is necessary. You see, chocolatey works for native Windows applications — you could even install Discord through it — while pacman allows us to install Linux-like packages: packages like GCC.
For the most part you don’t need to know or do much with pacman, but if you want to dig deeper feel free to check the official wiki.
Installing development tools
We’ll use pacman in order to get a lot of really useful development tools like gcc — the GNU GCC compiler — gdb — the GNU Debugger — grep, awk, make, pkg-config and more.
If you don’t know what those tools are, don’t worry. You’ll eventually find them in some Stack Overflow post that asks you to run some command.
First of all, make sure pacman is up to date by running the following command:
pacman -Syuu
In order to install the development tools, again, this is pretty straight-forward:
pacman -S base-devel
You’ll see listed all the tools that will be installed. Press Enter to install all of them.
Sadly, this is not enough. If you try to run gcc from the command line you’ll probably get an error. We need to install some more packages:
pacman -S mingw-w64-x86_64-toolchain
Again, press Enter to accept the installation and let it run.
This will install gcc and friends for 64-bit machines, and since you most likely are running one — as long is not over 10 years old — you don’t need anything more.
Note: This will also install the latest
pythonversion, but without thepiptool. If you want to usepythonwithpipyou can get it by runningpacman -S mingw-w64-x86_64-python-pip
And you are pretty much done! Check that everything works by running:
PS> gcc --version
gcc.exe (Rev2, Built by MSYS2 project) 9.2.0
Copyright (C) 2019 Free Software Foundation, Inc.
This is free software; see the source for copying conditions.  There is NO
warranty; not even for MERCHANTABILITY or FITNESS FOR A PARTICULAR PURPOSE.
PS> gdb --version
GNU gdb (GDB) 9.1
Copyright (C) 2020 Free Software Foundation, Inc.
License GPLv3+: GNU GPL version 3 or later <http://gnu.org/licenses/gpl.html>
This is free software: you are free to change and redistribute it.
There is NO WARRANTY, to the extent permitted by law.
Adding make to the mix
GNU Make is a tool which controls the generation of executables and other non-source files of a program from the program’s source files. Make gets its knowledge of how to build your program from a file called the
makefile, which lists each of the non-source files and how to compute it from other files. When you write a program, you should write amakefilefor it, so that it is possible to use Make to build and install the program.— GNU Make
Make is one of the most popular “build systems” for C, and most projects written in C use it. The details of make are outside the scope of this post, but we’ll install for future usage.
By now, you should know what’s coming:
pacman -S make
Make sure everything is correct:
PS> make --version
Built for x86_64-pc-msys
Copyright (C) 1988-2020 Free Software Foundation, Inc.
License GPLv3+: GNU GPL version 3 or later <http://gnu.org/licenses/gpl.html>
This is free software: you are free to change and redistribute it.
There is NO WARRANTY, to the extent permitted by law.
Setting up a minimal editor
There are a lot of C IDEs for you to pick:
etc…
But we’re going bare metal…
When starting with C — actually with any programming language — I don’t recommend going with an IDE since those tools do a lot of stuff under the hood that you as a beginner may be missing, maybe don’t understand or can’t troubleshoot.
Understand the magic under the hood and then go with an IDE. Never the other way around. I’ve done that. Don’t you do it too.
Just use a text editor. I recommend VS Code since it’s very popular, easy to use and very customizable. It supports a lot of programming languages and tools by installing extensions, and there are a lot of those.
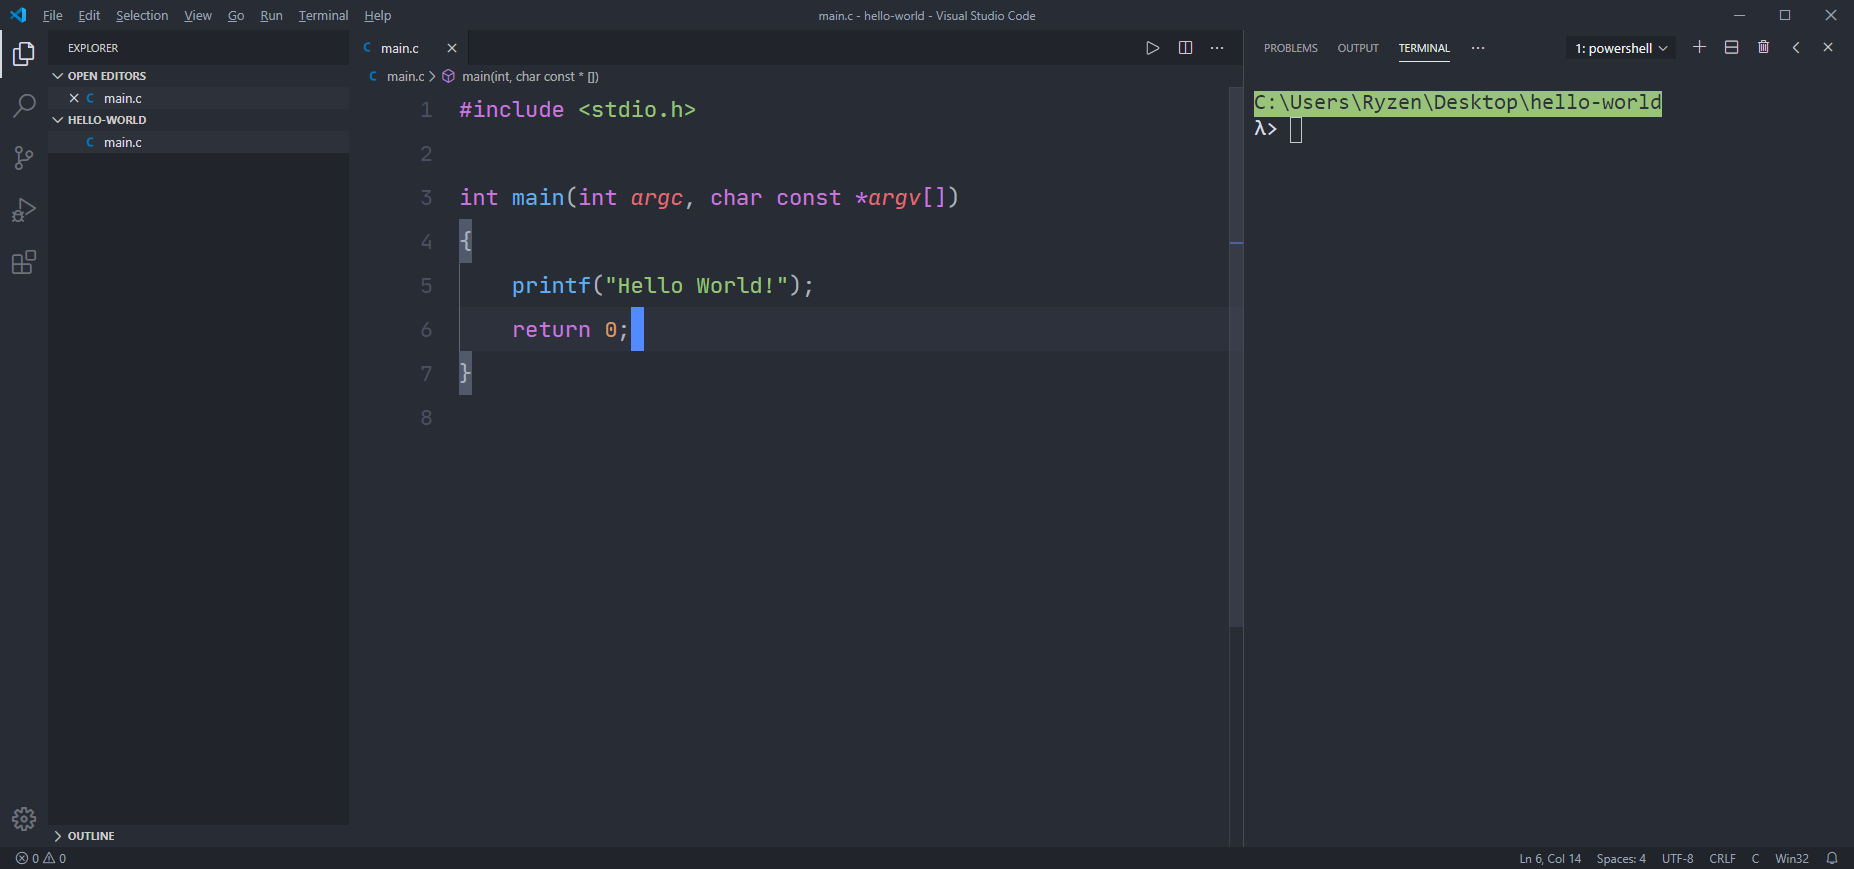
I’m using the One Dark Pro theme with JetBrains Mono font.
Create a empty folder, open it in VS Code, create a main.c file and write the usual Hello, World!. If you get an extension recommendation for C/C++, install it. It will provide useful stuff like error highlighting, function and names autocomplete, code snippets — function definitions, main function, etc. —
If you want to run your code, on the integrated terminal run:
PS> gcc main.c          # compile your files
PS> a.exe               # run the executable
Hello World!            # expected output
There you go! Next time you want to compile and run C, you will only need to run gcc from the terminal with your .c file like we just did.
There’s a VS Code extension that will automatically compile and run your C program. It’s also capable of running a lot of other programs from different languages. Check it out!